Introduction:
Xamarin is great technology for develop cross mobile application development. You can create, Build and Debug iOS application in windows machine using Visual Studio. In this article, I will explain what are the way to debug and build Xamarin.iOS application in windows machine.
Xamarin and Microsoft giving very great solution for create, build and debug IOS application on windows machine using visual studio. but, it cannot do this alone, an IOS app cannot be created without apple Compiler, and it cannot be deployed without apple certificate and code-signing tools. Read below I will explain about software requirement and steps.
Software Requirement:
You can install following software from Windows and Mac machine.

Windows Machine:
- Windows OS 7 or higher (7, 8, 8.1,10 +)
- Visual Studio 2013 professional or higher.
- Download Update Visual Studio from https://www.visualstudio.com/downloads/
- VS 2015 ++ included xamarin .
- If VS 2013 , Download Xamarin for Visual Studio from https://www.xamarin.com/download
- Note: You cannot use the Xamarin plug-in Visual Studio Express editions.
Mac Machine:
- A Mac running OS X El Capitan (10.11) or higher
- Xamarin Studio 5.10 or higher with Xamarin.iOS SDK
- Apple Xcode(7+) IDE and iOS SDK from https://itunes.apple.com/us/app/xcode/id497799835?uo=8&at=11ld4k
It greatly helps if your machines are physically near each other, since when you build and run on Windows, the iOS Simulator will load on your Mac.
Build and Debug iOS Application:
I have explained about basic xamarin.Form application creation in my previous article .You can refer and create basic xamarin.iOS or xamarin.Form application
After create, Visual Studio will prompt you to prepare your Mac to be the Xamarin build host using below 3 steps.
Mac Machine:
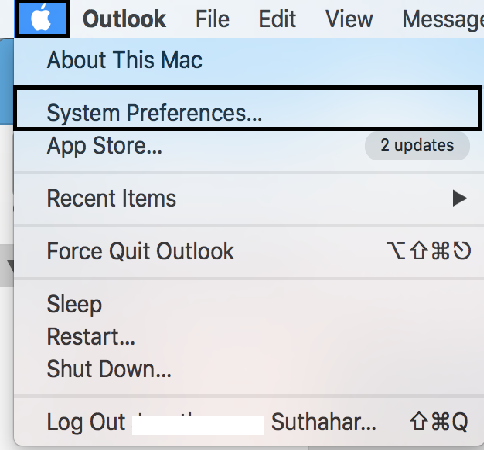
Step 1: On the mac Machine, Select “System Preferences”
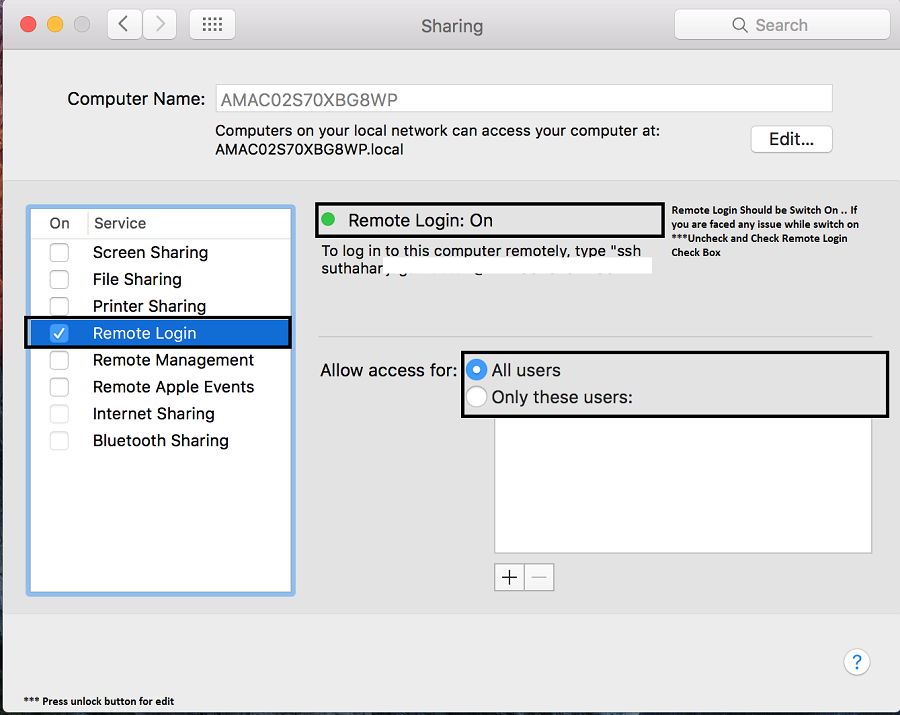
Step 2: In System Preferences, Click on “Sharing”

Step 3: In Sharing, Turn on Remote Login and Change Allow access to All Users or Only these users and add a user.
Windows Machine:
Step 1: In the Visual Studio, you can click on “Connection Indicator “

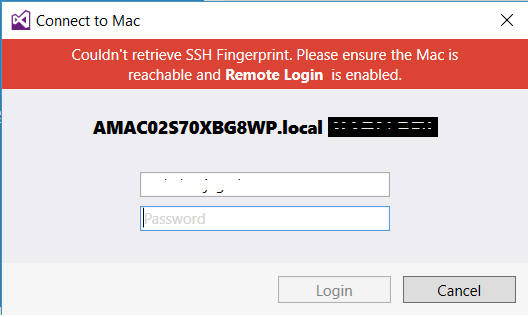
Step 2: You Can Select your mac name from mac agent window and click on “connect”.

Step 3: you can enter mac username and password and Click on Login .
After connection, Connection indicator color will change to green, If its connection is very less bandwidth means it will change to orange color (it’s not recommended for debug application)

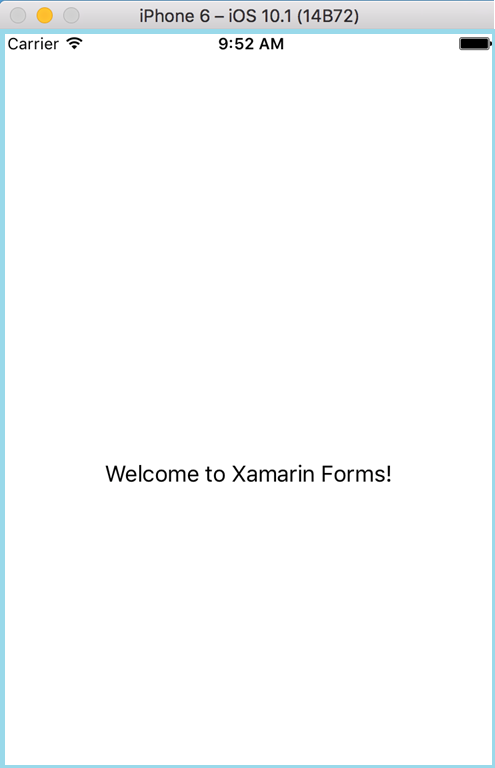
Your app will compile and execute, but you won’t see it running on Windows. Instead, you’ll see it on your Mac build host.
iOS Simulator Remoting:
The Evolve 2016 Conference, Xamarin announced iOS Simulator remoting that will soon allow you to interact with apps running in Apple iOS simulator as through the Simulator were running on your Windows Machine.
iOS Simulator Remoting also you need follow above all the steps and below steps as well
Windows Machine
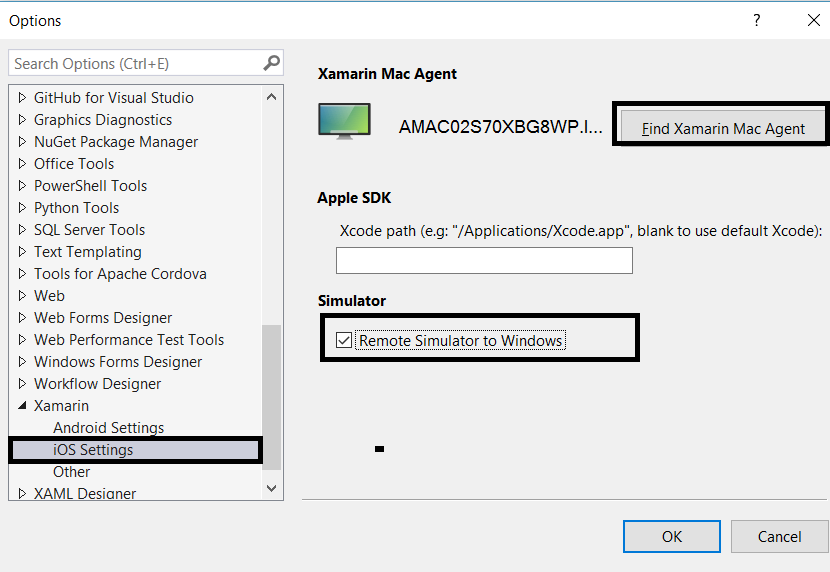
Step 2: After install, In Visual Studio go to Tools > Options > Xamarin > iOS Settings and tick the box for Remote Simulator to Windows:
Output:
Now build and run solution and ios simulator will open in windows machine
Issues and Resolution:
Issue 1:
Error Cannot resolve reference: C:/Program Files (x86)/Reference Assemblies/Microsoft/Framework/Xamarin.iOS/v1.0/Facades/System.IO.FileSystem.Watcher.dll I1Vector.iOS
Resolution:
This issue happened because of different versions of Xamarin.iOS on Windows Machine and mac machine. After updating xamarin.ios, this problem will get resolved.
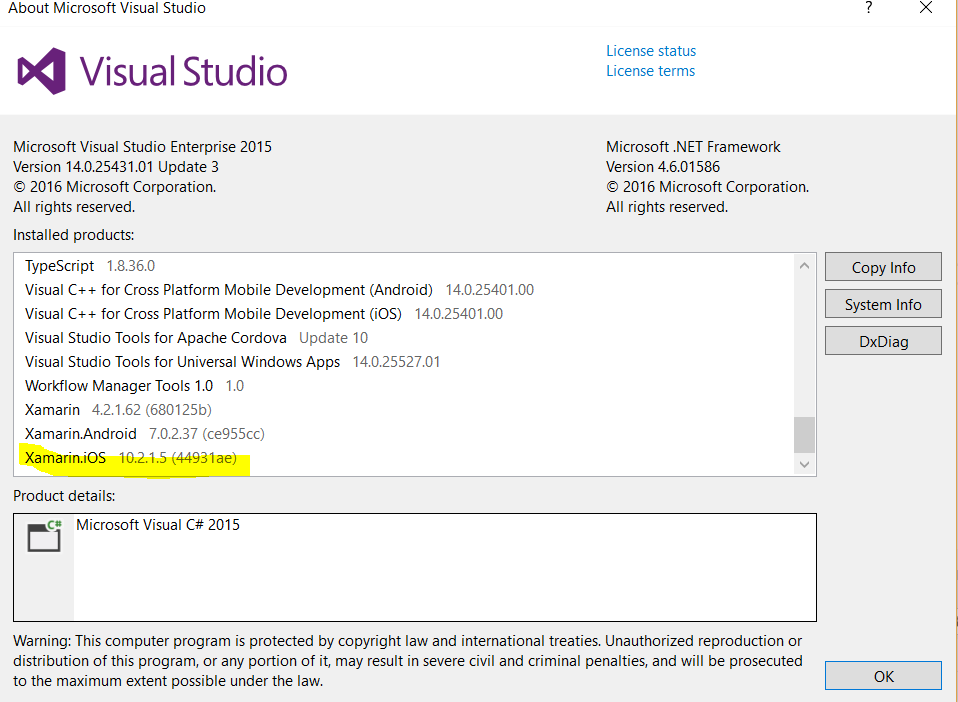
How to Check xamarin.iOS Version Number ?
In Windows Machine, Go to Visual Studio ➔ Help ➔ About Microsoft Visual Studio
In mac machine, Go to Xamarin Studio ➔ Select Xamarin Studio Menu ➔ Click About Xamarin Studio ➔ click Show details

How to Update Xamarin.Ios in Mac and Windows?
Mac Machine:
Go to xamarin Studio and Click on “Check for Update” and Update
Windows Machine:
Go to Visual Studio ➔ Tools ➔ extensions and updates.
Some time it won’t available in update list. if it’s not available, go to control Panel➔Uninstall program ➔ Select Visual studio ➔ and Click Change option and update
Issue 2: Mac Agent can't connect after update:
Starting connection to mac machine. Xcode license must be accepted in order to be connected and working against the Mac
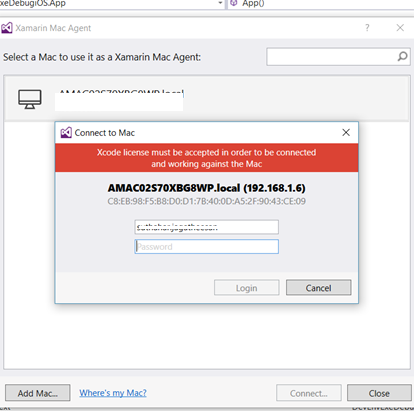
Solution:
- Go to Xcode ➔ Preferences ➔ Location
- Check if "Command Line Tool" set or Select XCode version
- Run sudo xcodebuild -license in terminal
- Xcode license must be accepted press Space bar and press q
Issue 3: iOS simulator not display on Windows
Solution 1: Check Windows and Mac firewall rule or disable and test application.
Solution 2:
You need make sure xcode installed in Application Folder. If it’s not ,you need to change in visual studio Apple SDK path

No comments:
Post a Comment