Introduction:
Visual Studio 2017 was launched on March 7, 2017 with many fresh and exciting features for Visual Studio developers and Xamarin Live Player Announced on stage at Build 2017.
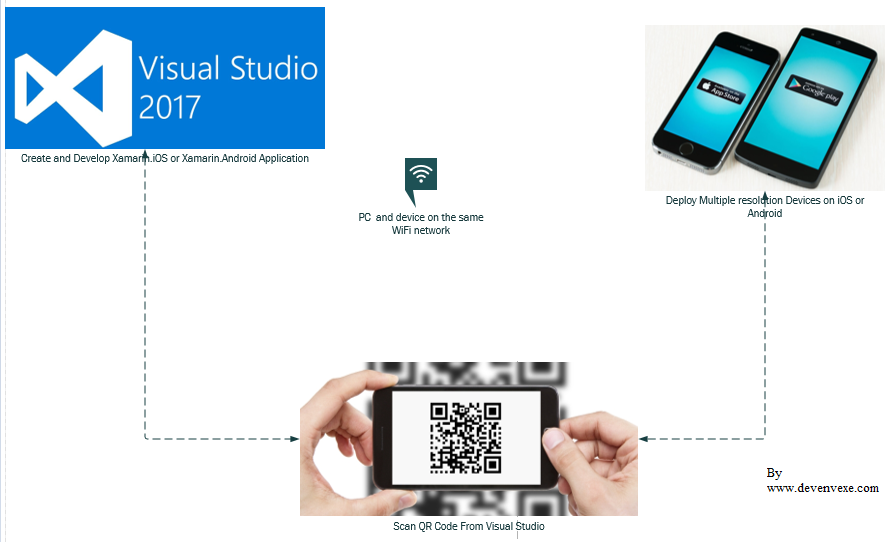
Developing iOS and Android apps on a Windows PC and run on Xamarin Live Player app no need to setup emulator or connect cable to deploy the code and You have the app running from Visual Studio, either with or without the debugger, you can enable “Live Run” mode, which will constantly deploy your code as you edit it.
Setup on Windows machine:
- Download and Install Visual Studio 2017 15.3 Preview or above from https://www.visualstudio.com/vs/preview/
- Update Xamarin for VS 2017 from https://marketplace.visualstudio.com/items?itemName=Xamarin.XamarinUpdater
- Connect PC and device on the same Wifi network
- Xamarin Live Player will support only on Visual Studio, does not work on xamarin studio

Setup on Mobile Device:
- Download and Install Xamarin Live Player on iOS device from https://itunes.apple.com/us/app/xamarin-live-player/id1228841832?ls=1&mt=8
- Download and Install Xamarin Live Player on Android Device from https://play.google.com/store/apps/details?id=com.xamarin.live
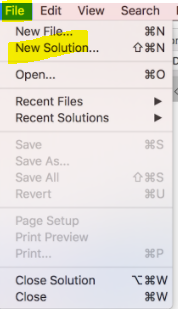
Step 1: Create New Xamarin Forms Application:
Let's start with creating a new Xamarin project in Visual Studio.
Click on Windows Key > Select Visual Studio 2017 Preview

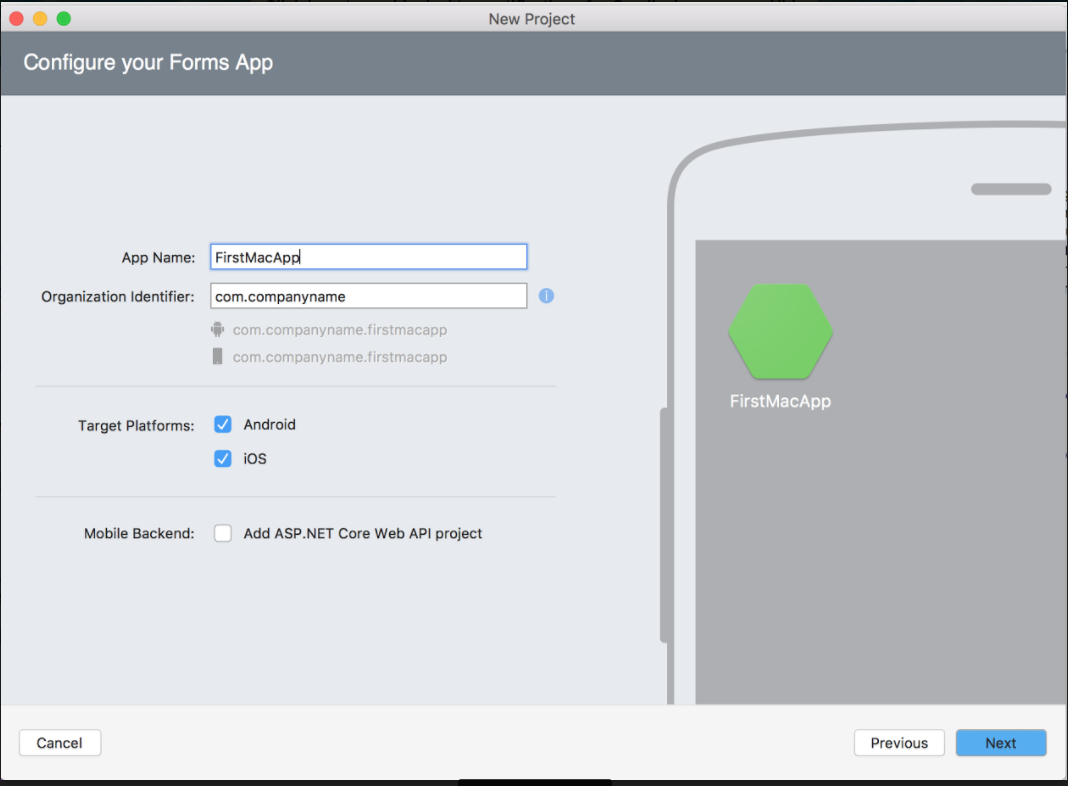
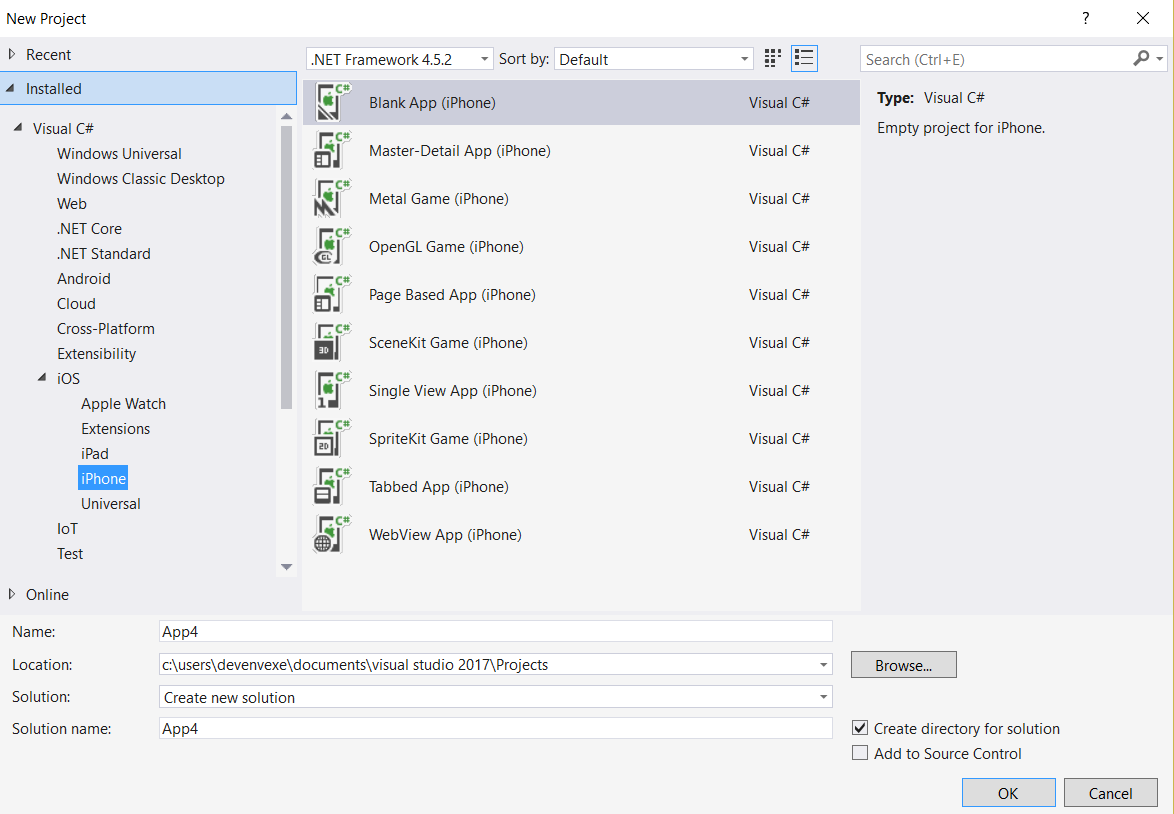
Step 2: Select New Template:
New Project (Ctrl+Shift+N) -> select Portable Blank Xaml app.
Step 3: Select Live Player:
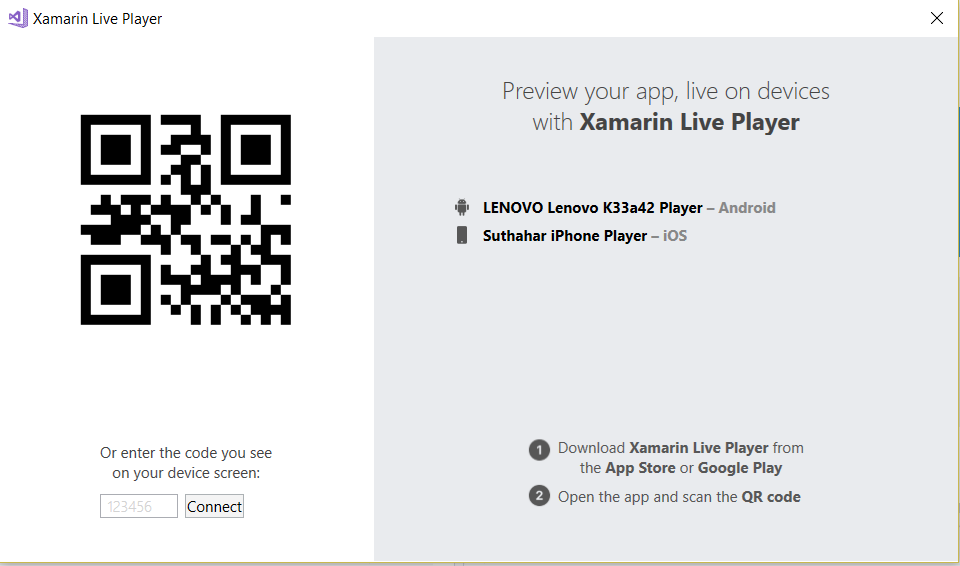
Choose live Player in the device list

If you have already paired a device, it will be available as an option.
Otherwise you'll be prompted to pair a device when required. When you press Pair to Visual Studio, use the camera to scan the barcode showing on your computer or enter the code you see on your device on screen
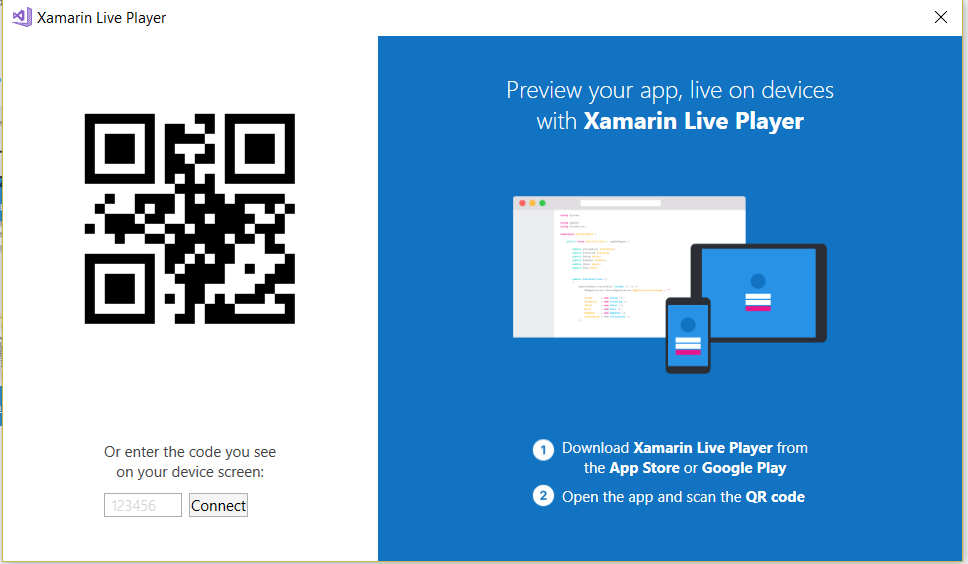
You can click on Tools > Xamarin Live Player > Manage Devices
Step 4: Run and Debug Application:
Select your device and run the application.
Start Without Debugging – you can edit the app and see the changes occur on the device Start Debugging – you can set breakpoints and inspect variables, but code cannot be edited.
Issues and Resolutions:
I have shared some implementation, development issues and solution given below.

- Mobile Device Does connect to PC ?

Solution:
- Make sure device and computer are on same network
- Restart Xamarin Live player app
- if Device connect with Cable, you disconnect and deploy the application
- No option to select Xamarin Live Player in the device list?
Solution:
- Ensure you are using Visual Studio 2017 15.3 Preview from https://www.visualstudio.com/vs/preview/
- Install the Xamarin Updater from:
https://marketplace.visualstudio.com/items?itemName=Xamarin.XamarinUpdater
- Update all the things in Extensions & Updates under Updates > Xamarin Preview which will download the available updates.
- Close Visual Studio, which auto-launches the installer for the downloaded updates.
- Relaunch Visual Studio after the installation finishes.
Summary:
This article you learned about Xamarin Live Player ,VS system requirement, install Visual studio preview 15.3 and issue and resolution.
If you have any question/ feedback/ issues, please write them in the comment box